Welcome
- Click Start installation.
- Expected: moves to System check.
Run the application on your computer (~30–50 min)
Complete Part 1 first. Your app must run locally at http://localhost:3000 before deploying to AWS.
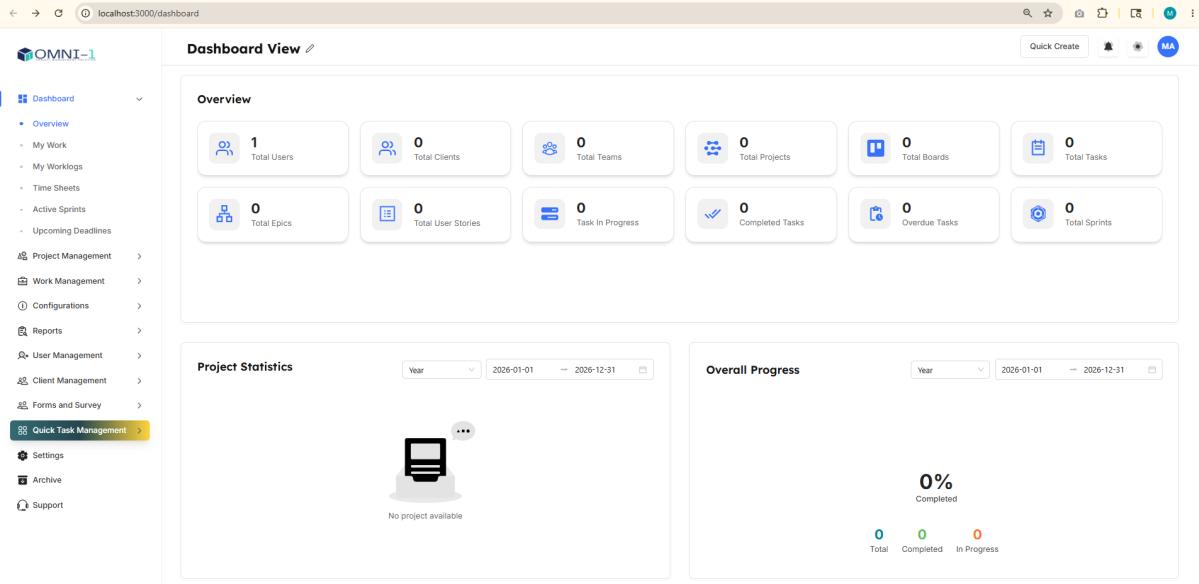
This guide helps you run the product on your own computer only. When finished, you will use the app at http://localhost:3000, complete the setup wizard once, and sign in as administrator.
| Item | Value |
|---|---|
| App address | http://localhost:3000 |
| Setup wizard (first time) | http://localhost:3000/install |
| Sign-in page | http://localhost:3000/sign-in |
| Skills needed | Copy and paste only - no programming |
| Internet | Required for packages and Supabase database |
Install the required tools before opening the project.
| Tool | Required | Purpose |
|---|---|---|
| Chrome or Microsoft Edge | Yes | Browser for app and setup wizard |
| Node.js 20 or newer | Yes | Runs the application |
| pnpm 10 or newer | Yes | Installs project packages |
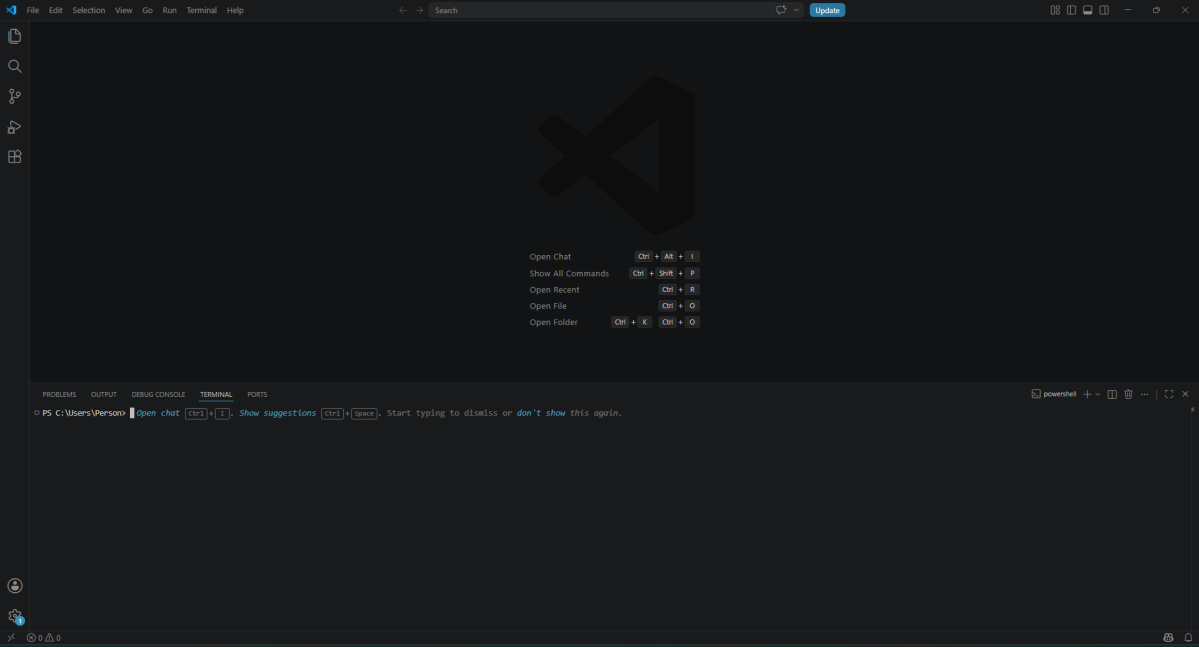
| Terminal / PowerShell | Yes | Run setup commands |
| Visual Studio Code | Recommended | Open project and built-in terminal |
| Application ZIP + LICENSE.txt | Yes | Source code and license keys |
| Supabase account (free) | Yes | PostgreSQL database in the cloud |
| AWS S3 | Optional | File uploads - can skip in wizard |
| Email (Postmark or SMTP) | Optional | Can skip for local testing |
Verify installation:
node -v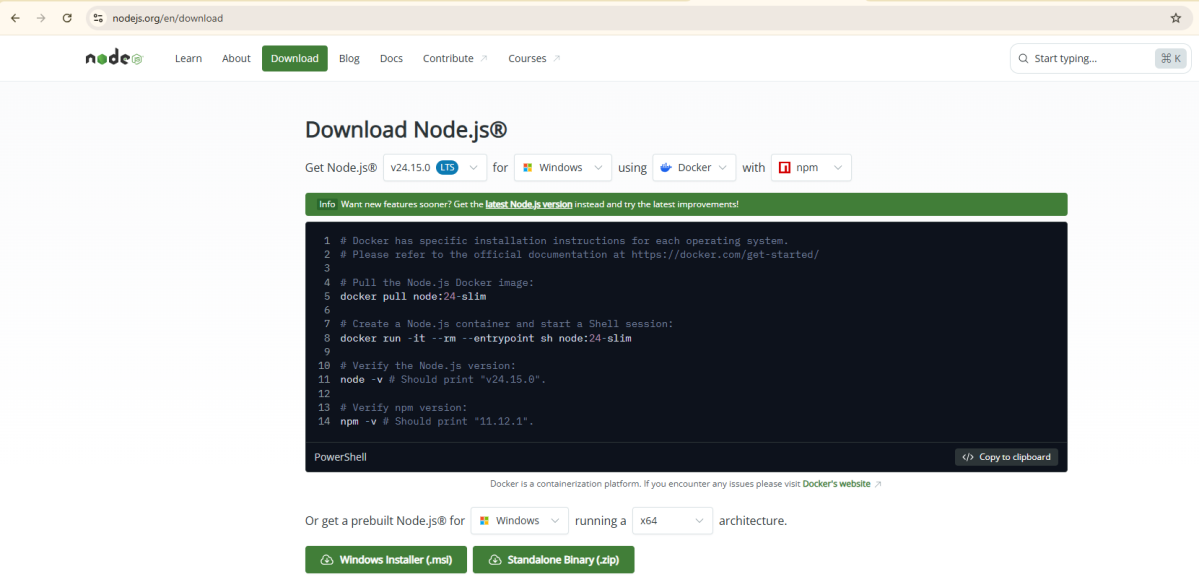
Expected result: v20.x.x or higher (example: v20.18.0)
Install pnpm after Node.js:
npm install -g pnpmVerify:
pnpm -vExpected result: Version 10 or higher (example: 10.7.1)
| System | How to open |
|---|---|
| Windows | Press Win + X → Terminal or PowerShell |
| Mac | Cmd + Space → type Terminal → Enter |
| VS Code | Menu: Terminal → New Terminal (recommended) |
| Extension | Purpose |
|---|---|
| Prisma | View database schema files |
| DotENV | Easier reading of .env file |
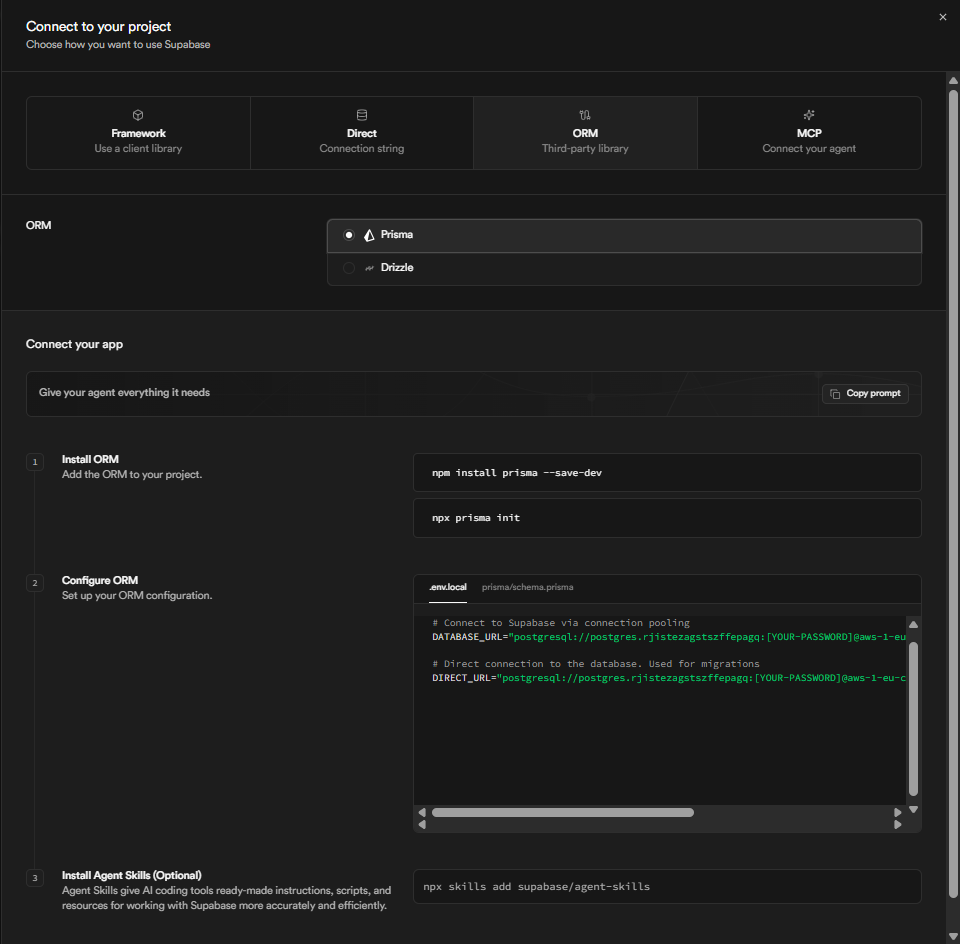
Your computer runs the app. Data is stored in PostgreSQL on Supabase (free tier).
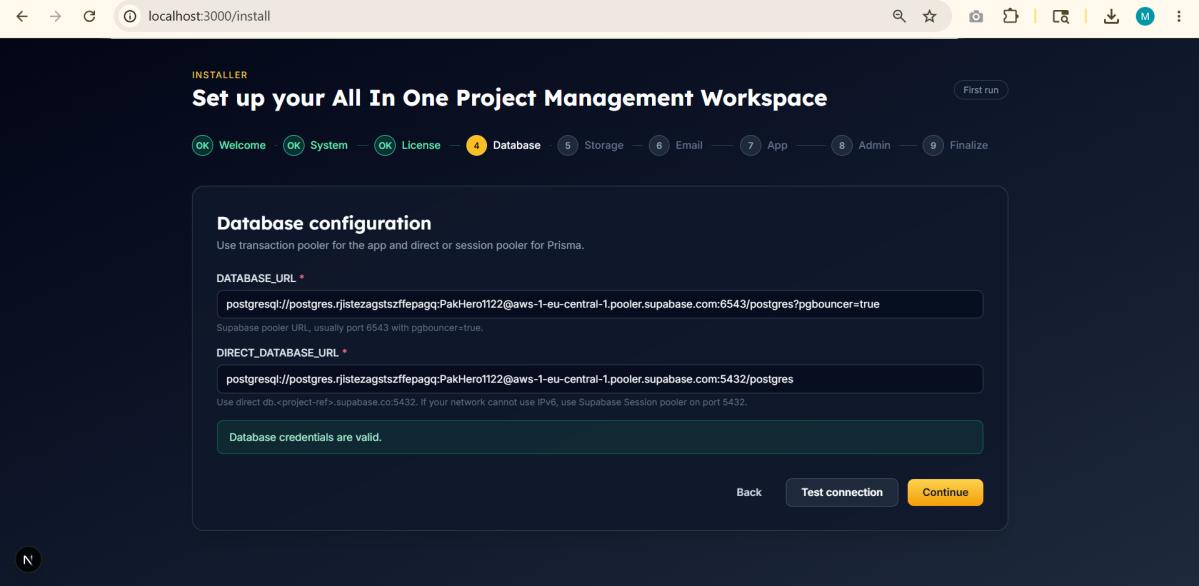
| Wizard field | Supabase source | Port |
|---|---|---|
| Database URL | Connection pooling → Transaction mode | 6543 (pooler) |
| Direct Database URL | Direct connection or Session pooler | 5432 |
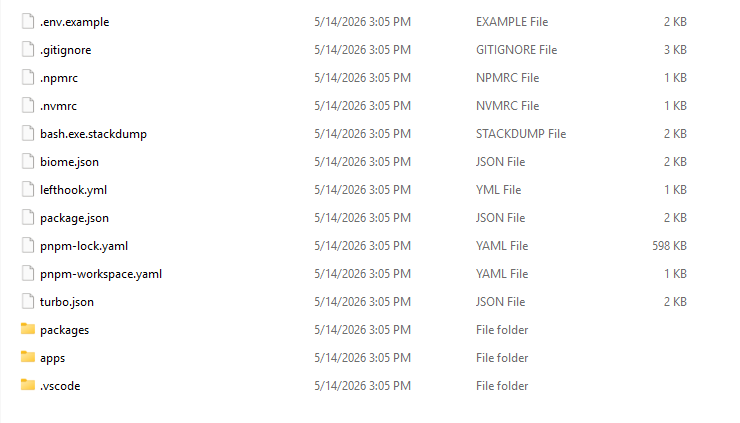
Correct folder must contain at the top level: package.json, pnpm-workspace.yaml, apps folder, and packages folder.
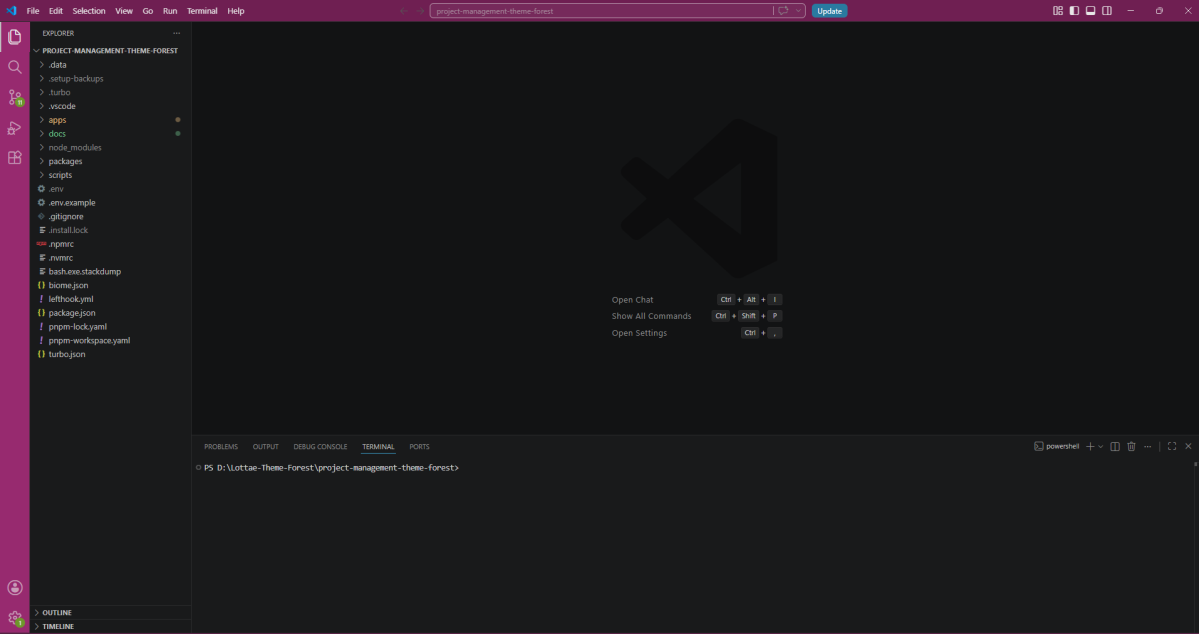
In the VS Code terminal, run:
pnpm install| Detail | Value |
|---|---|
| What it does | Downloads all required packages (3–10 minutes) |
| Success | Finishes without red ERROR lines |
pnpm dev| Detail | Value |
|---|---|
| What it does | Starts the app on your computer |
| Success | Terminal shows Ready and localhost:3000 |
| Important | Keep this terminal open while using the app |
Stop server: Press Ctrl + C in the terminal when finished.
Complete all steps in one browser tab. Do not clear browser data until finished.
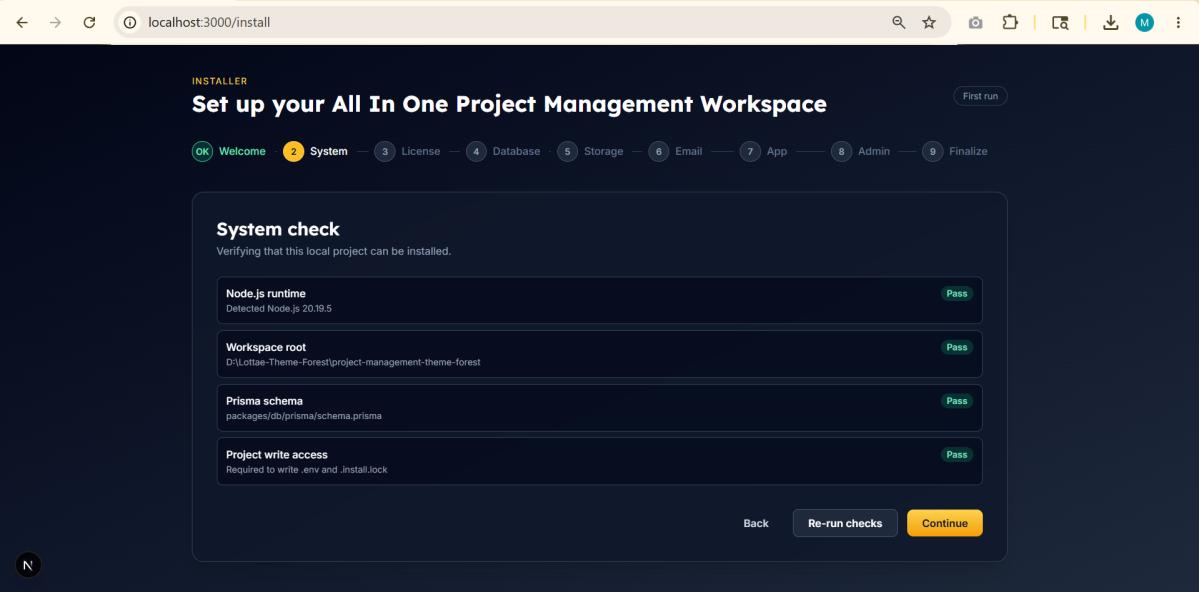

All items must show Pass:
| If failed | Fix |
|---|---|
| Node.js | Install Node 20+, restart terminal, Re-run checks |
| Write access | Move project to Documents folder, not Program Files |
| Field | Local value |
|---|---|
| Application URL | http://localhost:3000 |
| Public App URL | http://localhost:3000 |
| Base URL | http://localhost:3000 |
There is no default password. Create your own administrator:
| Field | Requirement |
|---|---|
| Admin email | Valid email address |
| Display name | At least 2 characters |
| Password | At least 8 characters |
| Confirm password | Must match password |
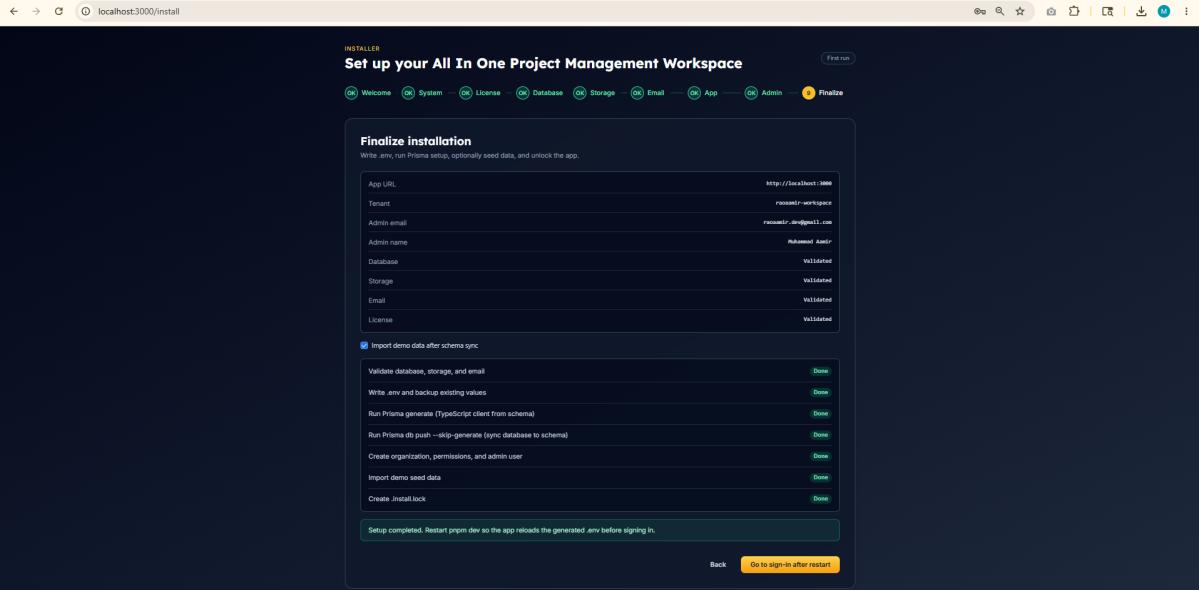
Verify in project root: .env and .install.lock files exist.
Cause: Node.js not installed or terminal not restarted.
Cause: pnpm not installed globally.
Cause: Previous dev server still running.
Cause: Wrong URL, paused Supabase, or swapped pooler/direct URLs.
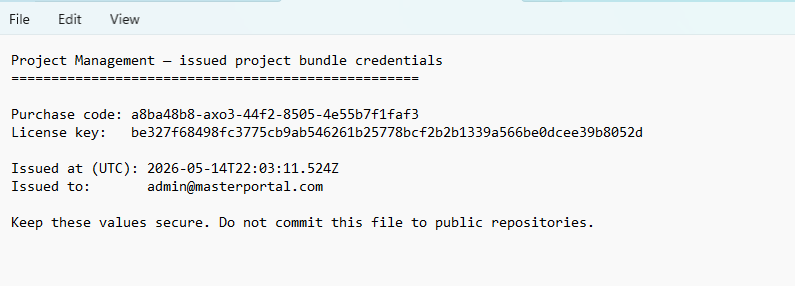
Cause: Wrong code/key or license used on another machine.
Cause: Project in protected folder.
| Action | Command or URL |
|---|---|
| Open project | VS Code → File → Open Folder |
| Install packages | pnpm install |
| Start app | pnpm dev |
| Open in browser | http://localhost:3000 |
| Sign in | http://localhost:3000/sign-in |
| Stop app | Ctrl + C in terminal |